The Capture Screenshot action allows your agent to capture an screenshot of your target site at any point during its run. This is helpful when you need your agent to interact with a page before capturing a screenshot.
By default, images are not loaded on the web page on the Mozenda’s servers. To enable screenshot capture, first set the agent to request web page images during processing in the Web Console.
In the Agent Builder:
- Enter a URL.
- Select Add Action drop-down.
- Select Capture Screenshot.
- Enter a name for the field.
This field name displays in the agent’s data collection and records the URL of the web page where the screenshot was captured.
- (Optional) Choose the image format from the Format drop-down. The options are Jpeg or Png.
If you don’t choose a format, the screenshot is saved by default as a Jpeg file.
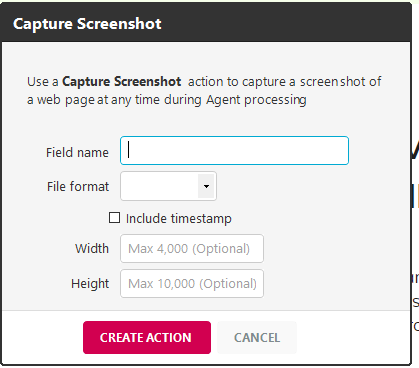
- (Optional) Customize the dimensions of the screenshot in pixels.
The image will be cropped to custom dimensions starting from the upper left corner. This setting does not perform any resizing.
- Select Create Action.
- Select SAVE.
The screenshot is saved as a URL.
- Click and drag the new screenshot action into position.
For example, if you want to take a screenshot of the web page after clicking a link or menu, you need to drag the Capture Screenshot action below that action.