When you build an agent that downloads images or files from a website, they are stored in your account in the Web Console and attached to the agent’s data collection. Images are generally named using numbers starting from 1001.
You can specify how you want collected images named using information from captured data.
In the Web Console:
- Select Agents > All Agents.
- Select the name of an agent.
- Select Fields.
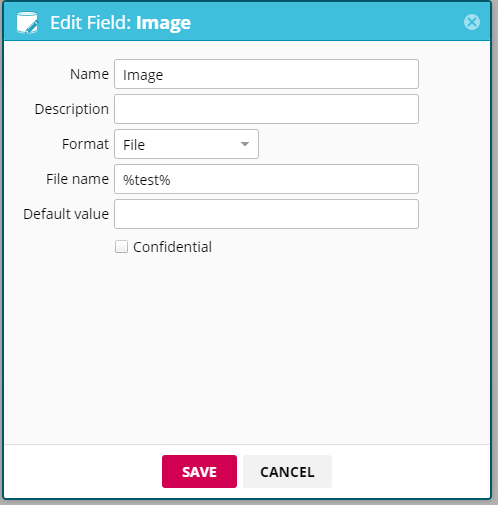
- Select the field with an image or file to rename.
Note
The file/image must be stored as a File. You can see the format in the Format column.
- In the File name box, specify the naming convention for images your agent extracts from the targeted web sites. Enter the pattern for image filenames between two percentage signs. Delimit multiple field names by either a space or a hyphen.
%springfield%
Or,
%springfield% %portland%
- Select SAVE.