Mozenda makes it easy to publish your data to an Amazon S3 bucket.
We recommend the upload file size be 15GB or less. The upload process will timeout after 2 hours.
Agent-level publishing
In the Web Console:
- Select Agents > All Agents or Collection.
- Select the name of an agent or collection.
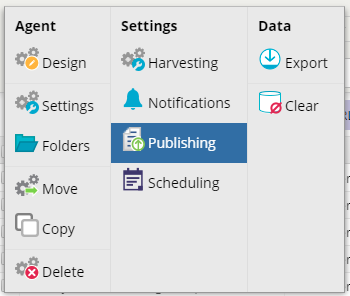
- Select
 .
. - Select Publishing.
-
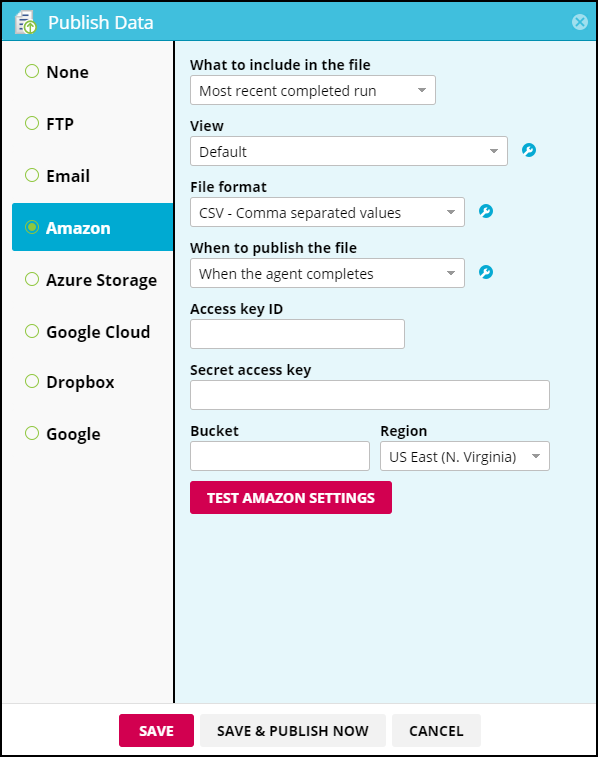
Select AmazonS3 under Publishing method.
-
Choose an option under Files include.
-
Choose an option under Managed view.
-
Choose the File format you want to publish to Dropbox.
- Your choices are CSV, TSV, XML, XLSX, or JSON.
- (Optional) Edit the file name by selecting
 next to the File format field.
-
Choose when you want the data to be published.
- You can publish the data (a) when the agent completes, (b) manually, or (c) on an schedule.
-
Enter the information to connect to your Amazon S3 bucket.
Make sure to type out the bucket exactly as saved and indicate the correct region.
- Select TEST SETTINGS to test the connection.
- Select SAVE or SAVE & PUBLISH NOW.
Publish to a folder within your bucket
To publish data to a folder within your Amazon S3 bucket, include a slash (/) and folder name in the Bucket field. For example, to publish to the OptimusPrime folder in the Autobots bucket, enter: Autobots/OptimusPrime.
Note
To publish to Amazon S3, you need an Amazon Web Services Account, and one of the following:
-
The root access key ID and the secret access key.
-
The access key ID and secret access key for an IAM user with at least the permissions listed below:
{
    "Version": "2012-10-17",
    "Statement": [
        {
            "Effect": "Allow",
            "Action": [
                "s3:PutObject",
                "s3:GetObject",
                "s3:DeleteObject"
            ],
            "Resource": "arn:aws:s3:::<bucketname>/*"
        }
    ]
}