You can organize agents and collections according to shared characteristics (such as purpose or domain) using Folders, the same way you might use tags in other applications (like Google's Gmail.)
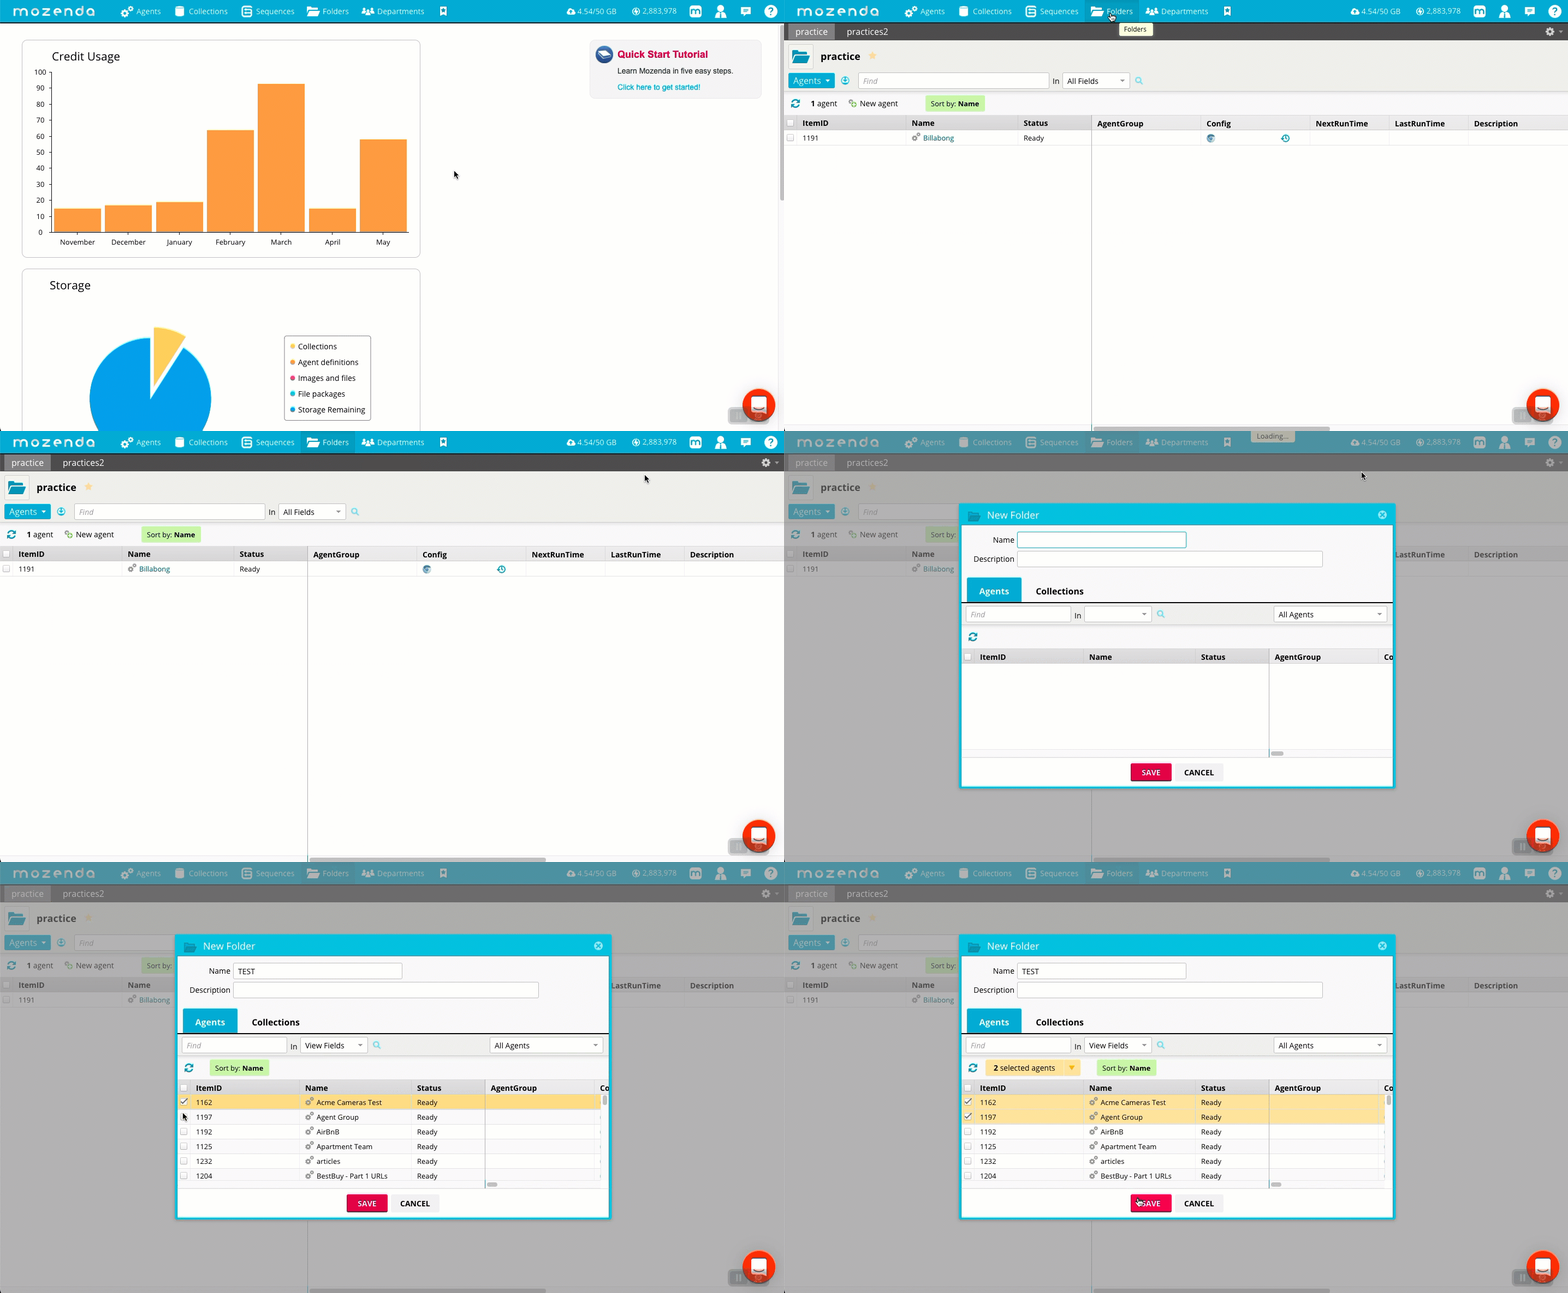
Create a new folder
In the the Web Console:
- Select Folders.
- Select
 >
>  Create a new folder

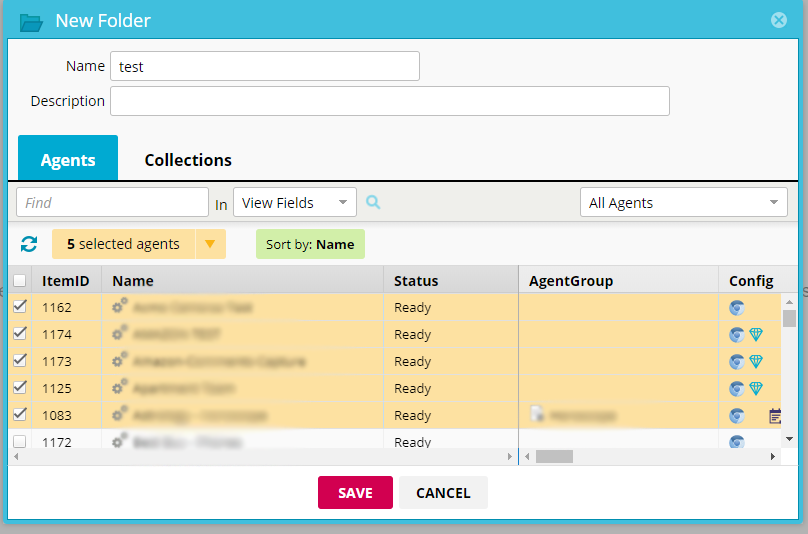
- Enter the new folder name.
- Select SAVE.
- Select the folder and Add to folder to select the agents and collections you want to include.
- Select SAVE.
Assign agents or collections to a folder
In the Web Console:
- Select Folders.
- Select the folder name.
- Select Add to folder
- Select the agents and/or collections you want to include.
- Select SAVE.

- Use the Agents/Collections to switch between viewing the agents and the collections in the folder.
Update the folder name
To update the agents and collections in a folder:
In the Web Console:
- Select Folders.
- Select the folder name.
- Select

- Select Settings.
- Edit the name.
- Select SAVE
Download the list of agents in a folder
To download the list of the agents or collections in a folder:
In the Web Console:
- Select Folders.
- Select the folder name.
- Select

- Select the view you want to download.
- Select DOWNLOAD.
